


Table of Contents
Kombucha – a Tasty, Beneficial Beverage
If you follow me over on the grams (@thoughtfulnutrition), then you’ve probably noticed that I am a big fan of kombucha. While kombucha is all-around awesome, it can be pretty pricey to buy it from a grocery store. Due to this, I decided to make kombucha at home. I did this by first growing a SCOBY from scratch.
Why would someone go through the effort of making kombucha from scratch? Kombucha is a beverage that is good for more than its delicious taste. Kombucha is full of living probiotics, making it a tasty beverage good for gut health. It’s also great for making mocktails, getting in some phytonutrients, or just enjoying as a refreshing drink.
What’s a SCOBY?
SCOBY stands for symbiotic culture of bacteria and yeast. The SCOBY is what ferments the sugar in the kombucha making process. The SCOBY also creates the fizziness of kombucha. Most importantly, the SCOBY is what provides kombucha with its beneficial bacteria aka probiotics.
Growing a SCOBY at Home
There are two main ways to make kombucha at home: buy a SCOBY from a trusted seller OR make your own SCOBY from scratch. I highly recommend making your own SCOBY from scratch because it’s simple and much cheaper than buying a SCOBY kit.
Another option is to get a SCOBY from a friend that brews kombucha at home. If you don’t have a friend with a SCOBY, don’t worry, you’re about to learn how to make your own. Once you make your SCOBY then you can move on to brewing your own kombucha at home.
P.S. If you already have a SCOBY, you can skip down to the next section to learn about the first fermentation.
Supplies
Side note: Kombucha does not like metal. Be sure to use glass containers and wooden utensils.
- 7 cups filtered water
- 1/2 cup white sugar
- 4 bags of black tea
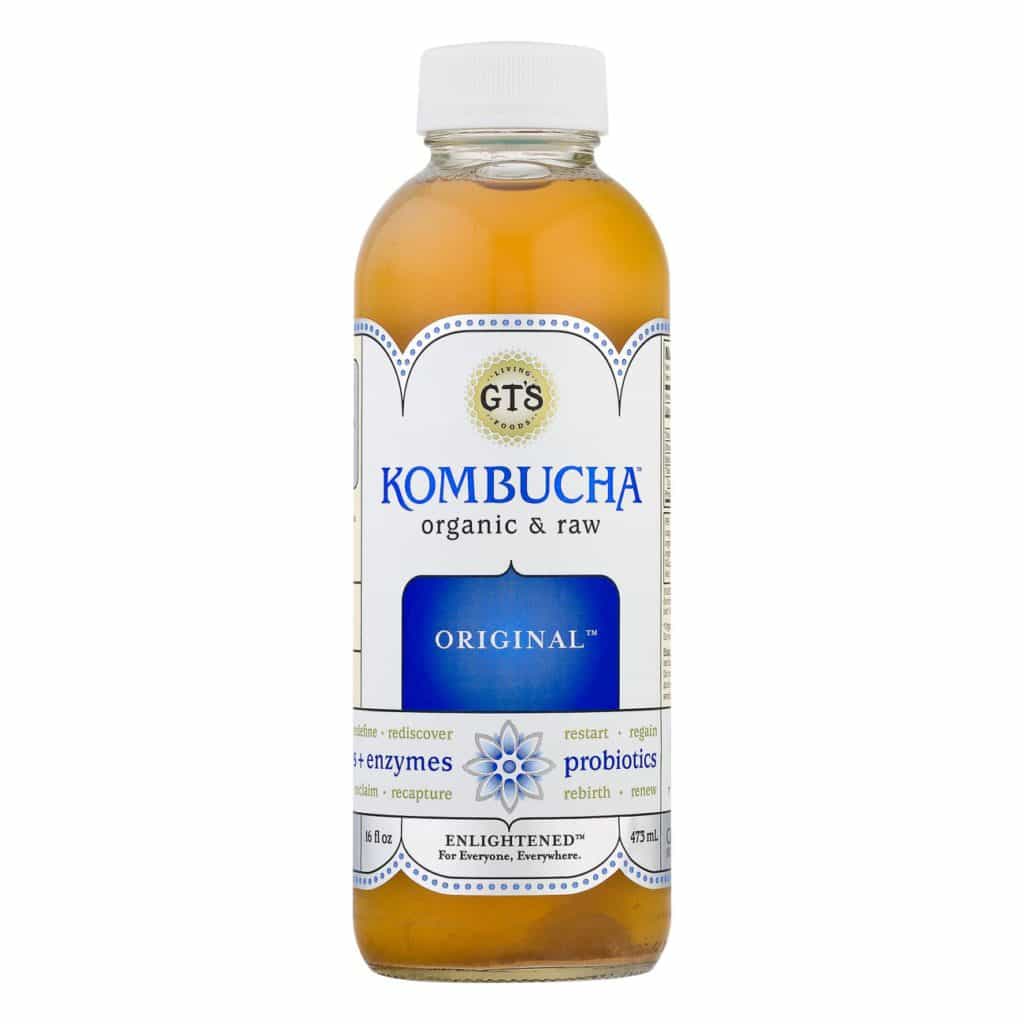
- 1 cup of unpasteurized, unflavored kombucha from the store
- I recommend using GT’s Kombucha, Original
- Do not get flavored kombucha
- Unflavored kombucha can be hard to find, I recommend places like Whole Foods, Harris Teeter, or Fresh Market.
- Glass container that holds at least 1 gallon
- Tightly woven cloth
- Cheesecloth, layered paper towel, coffee filter, cotton square, etc.
- Rubber bands

Instructions for Growing a SCOBY
- Boil water in a clean pot.
- I can’t emphasize enough how clean your kombucha environment needs to be.
- Once water is boiling, remove from heat and dissolve sugar in water.
- Add tea to water and steep until the water has cooled to room temperature. This will take a few hours. Just simply leave the pot on your kitchen counter.
- Pour the tea into your glass container of choice.
- Add the store-bought, unflavored kombucha to the room temperature tea.
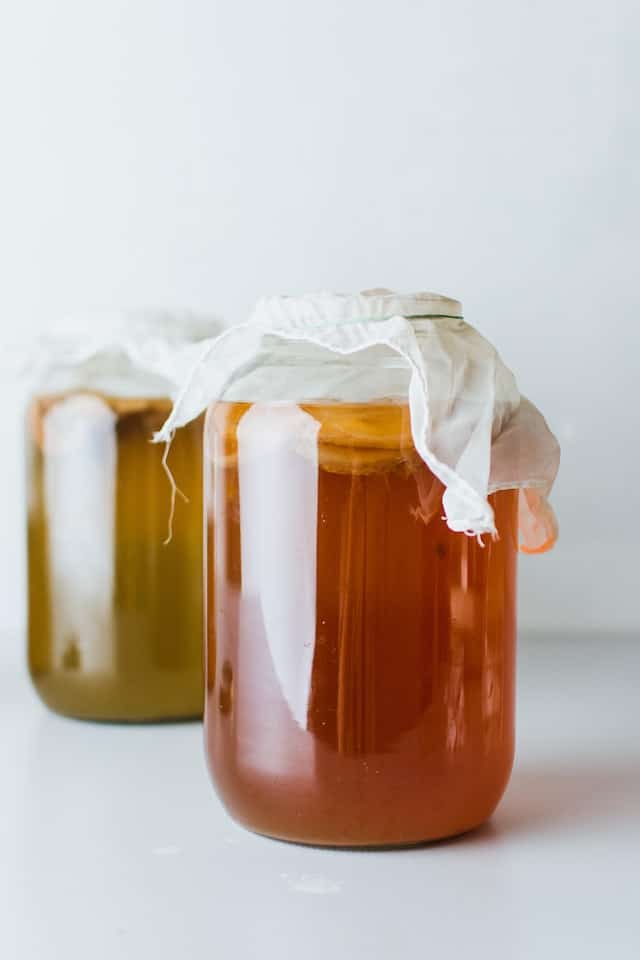
- Cover the container with tightly woven cloth and secure the cloth with a rubber band.
- Set container somewhere dark, stagnant, and at room temperature. An empty kitchen cabinet or pantry shelf is perfect.
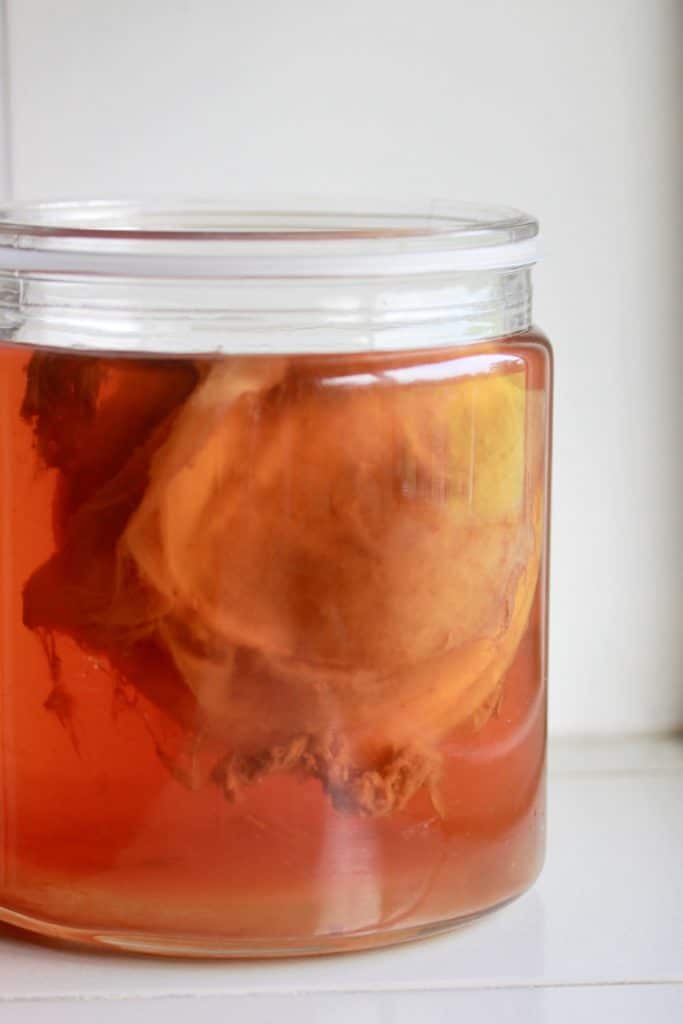
- Leave the container for 1 to 4 weeks, until at least a ¼ inch SCOBY has formed.
- Store the SCOBY in the original tea until ready to brew your first batch of kombucha.
- Once you are ready to brew your first batch, remove SCOBY from the original tea and toss this tea because it is high in vinegar and should not be used during the fermentation process.
- You are ready to start making your first batch!
How to – The 1st Fermentation
Now that you’re done growing a SCOBY, you can move on to the first fermentation.
Brewing kombucha requires two different fermentations. The first one ferments your tea while the second one ferments your flavored kombucha and makes it bubbly.
Supplies
- 14 cups filtered water
- 1 cup white sugar
- 8 bags black or green tea
- At this stage, you can choose between black and green tea. However, I’ve found that black tea always worked best for me.
- 2 cups unflavored starter tea (either from a previous batch of homemade kombucha or unpasteurized, unflavored kombucha from the store)
- For your first time ever making kombucha, you will need to use store-bought unflavored kombucha. Once you make a batch, then you can use tea from previous batches.
- 1 SCOBY
- Glass container that holds at least 1 gallon
- Tightly woven cloth
- Rubber bands
Instructions
- Boil water in a clean pot.
- Once water is boiling, remove from heat and dissolve sugar in water.
- Add tea to water and steep until the water has cooled to room temperature. This will take a few hours. Just simply leave the pot on your kitchen counter.
- With very clean hands, gently remove SCOBY from its tea and place on a clean plate.
- Pour tea into glass container of your choice.
- Add the starter kombucha to the room temperature tea.
- Gently place SCOBY in container with tea
- Cover the container with tightly woven cloth and secure the cloth with a rubber band.
- Set container somewhere room temperature for 6 to 10 days. The tea should taste mildly sweet and slightly vinegary. The warmer the atmosphere, the faster it will ferment. The longer the tea ferments, the more sugar will be used up by the SCOBY and the less sweet the tea will taste.
- IMPORTANT: Keep 2 cups of tea from this batch to use as a starter kombucha for your next batch. The SCOBY can be stored with this tea.
- The remaining tea can move into the final fermentation.
How to – The Final Fermentation
This step is for flavoring and carbonating your kombucha. This is the step that makes it tasty and enjoyable to drink.
Supplies
- Kombucha made from the first fermentation
- Sweetener (fruit, honey, sugar, etc)
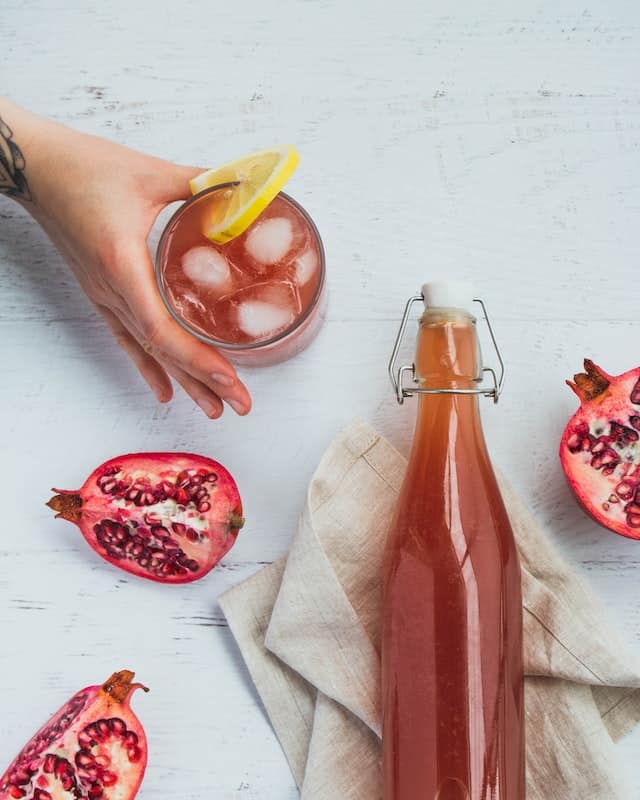
- Fermenting bottles (bottle with an airtight seal that prevents carbonation from escaping)
- See pictures below for examples
Instructions
- Strain kombucha and funnel into fermenting bottles. Be sure to leave about 1½ inches at the top OR carefully mix your kombucha with your flavoring before adding to bottles.
- Add sweetener and flavoring of your choice and seal tightly.
- Let sit somewhere dark, stagnant, and room temperature for 3 to 10 days.
- “Burp” the bottles, by opening the lids to release built-up air, every now and then to prevent pressure build-up that could cause jars to burst.
- Once at the desired level of flavor and carbonation, place in fridge to slow the carbonation process.
- Congratulations! You made your first round of kombucha! Enjoy!
Quick Summary
Making kombucha at home is a great way to save money and customize your kombucha. The process starts with growing a SCOBY, which is a symbiotic culture of bacteria and yeast. The SCOBY is responsible for the fermentation and carbonation of the kombucha. It is also what gives kombucha its probiotics, which are important for gut health.
After you’re done growing a SCOBY, the next step is the first fermentation. This step ferments the tea. The next step is the final fermentation, which carbonates your flavored kombucha. The final step is enjoying your homemade kombucha!
I hope this article helped you with growing a SCOBY from scratch. Happy brewing!
Thanks for reading!
Rachel Beiler, MHS, RD, LDN
Leave a Reply